Fishing
DREADMOOR Fishing Guide – Stamina, Line Tension & Bait Explained
Last updated: 2026-11-03 · Verified against game version Demo (Oct 2026)
How fishing works in DREADMOOR: the six-step loop, stamina draining, line tension, peaceful vs predatory bait, splash zones, and how to land the Snapper, Softgrazer and Harpooner contracts.
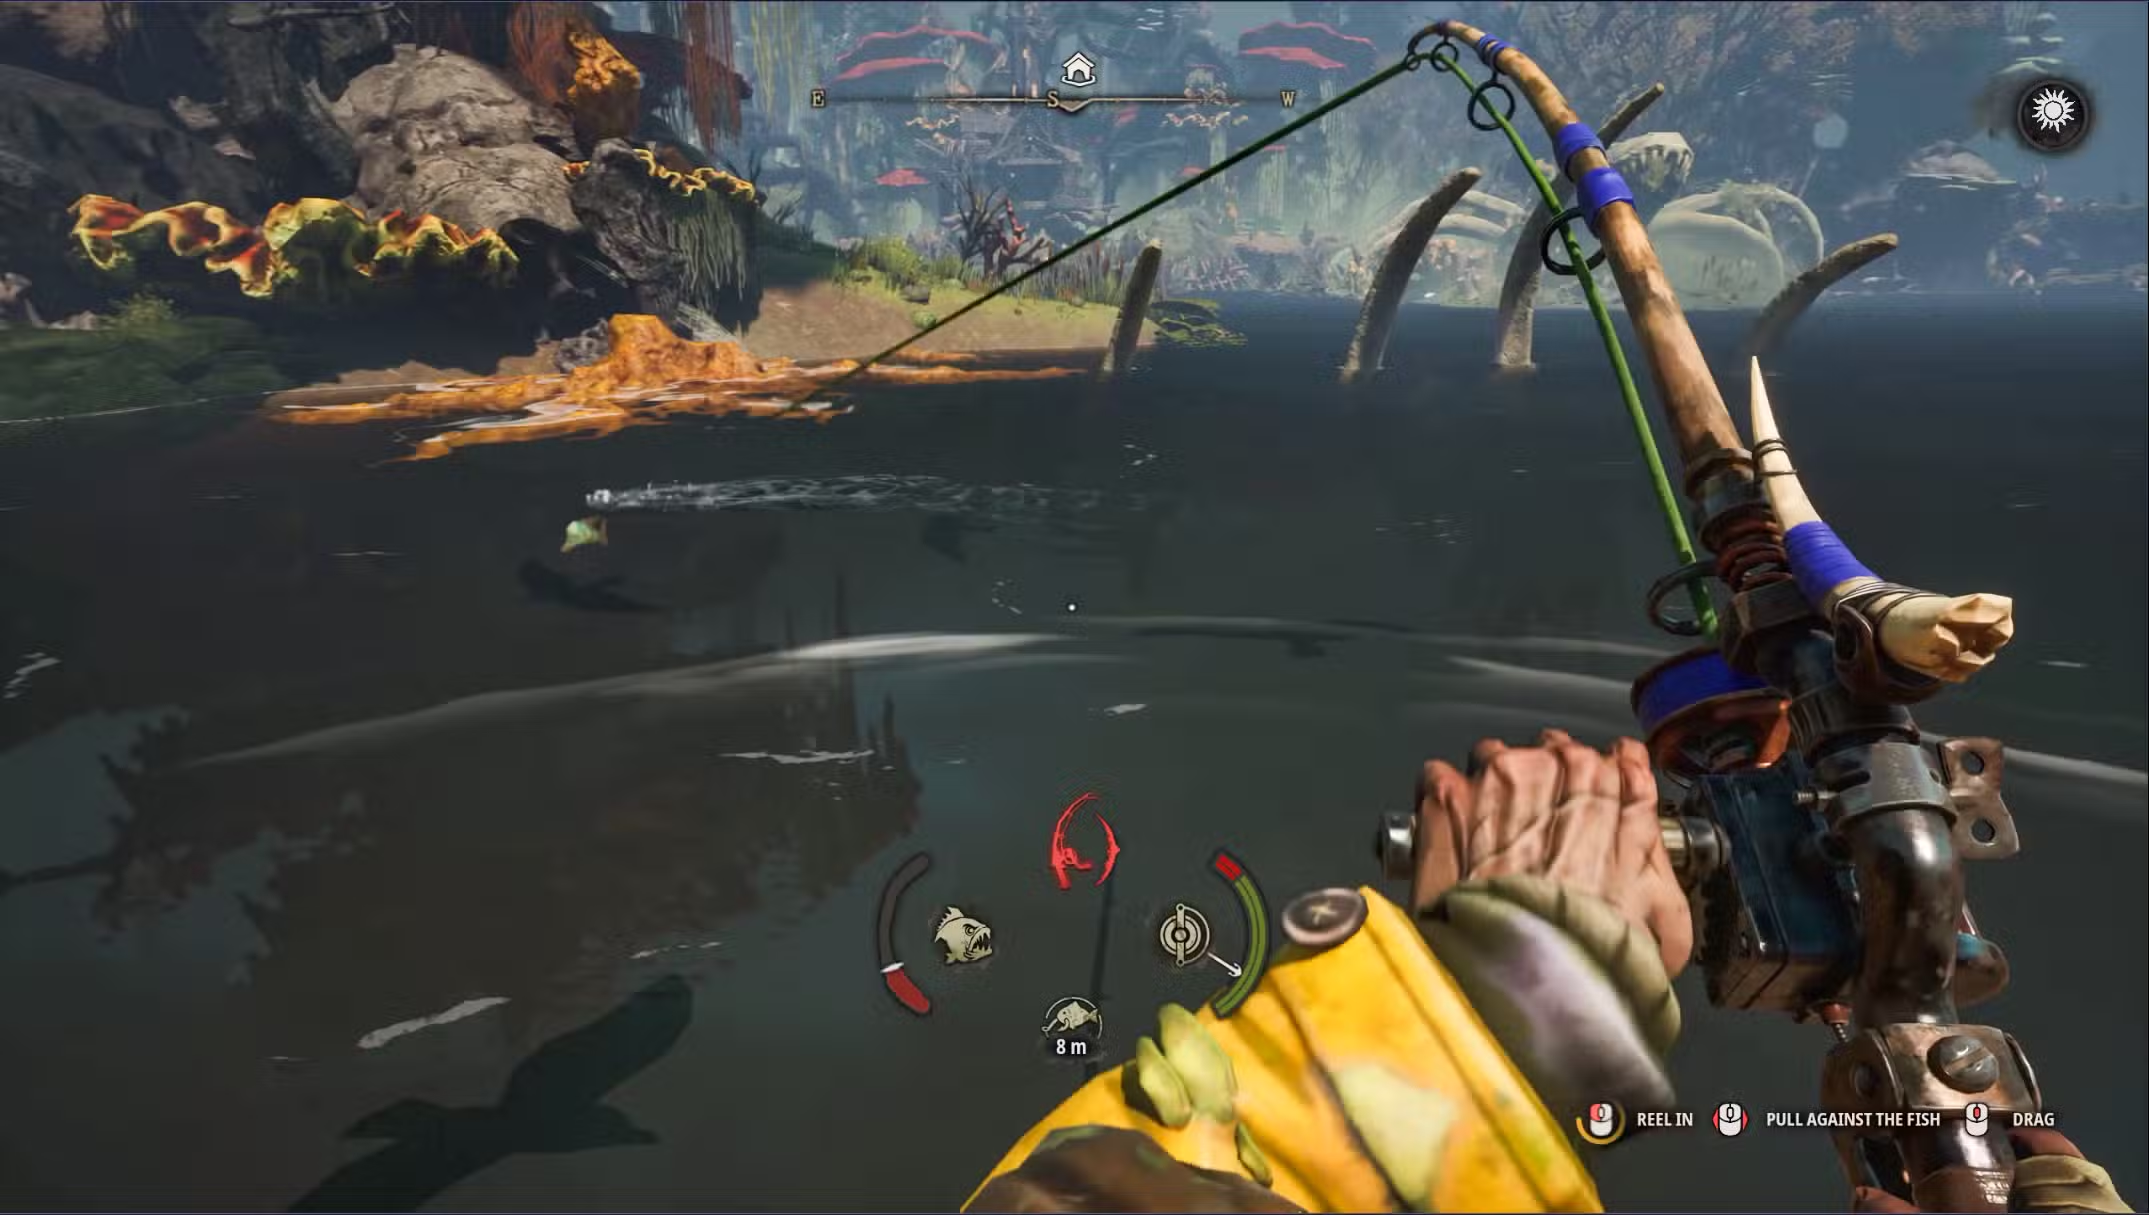
Quick Guide — Key Takeaways
- Pull opposite the fish's movement to drain Stamina; reel only when it tires.
- Stop reeling before Line Tension fills — a snapped line loses the fish permanently.
- Peaceful fish need a still rod; predators need a moving lure inside a splash zone.
- Earthworm is Snapper-only; Wind-Up Tin covers peaceful fish; Rainbow Fin covers most predators.
- Keep contract fish whole — processing or selling them before delivery means catching them again.
DREADMOOR's fishing is a first-person fight. You read the water, choose the lure, keep the rod still for a peaceful bite, then pull against a fish that wants the line back. This guide covers the whole loop — browse the fish list for per-species data and the bait database for recipes.
The Six-Step Fishing Loop
- Interact with the spot. The prompt opens the tackle screen and shows which fish are active there.
- Choose rod and bait. The Simple Rod finishes the opening contracts; bait is the part that matters.
- Cast into the zone. Aim at the active water — for predators, inside the splash zone.
- Wait or retrieve. Peaceful fish need a still rod; predators need a moving lure.
- Fight stamina and tension. Pull opposite the fish, reel when it tires, ease off when the line strains.
- Land and keep. Use the Land Fish prompt when the fish is close — and keep contract fish whole.
Stamina: Tiring a Fish Without Losing It
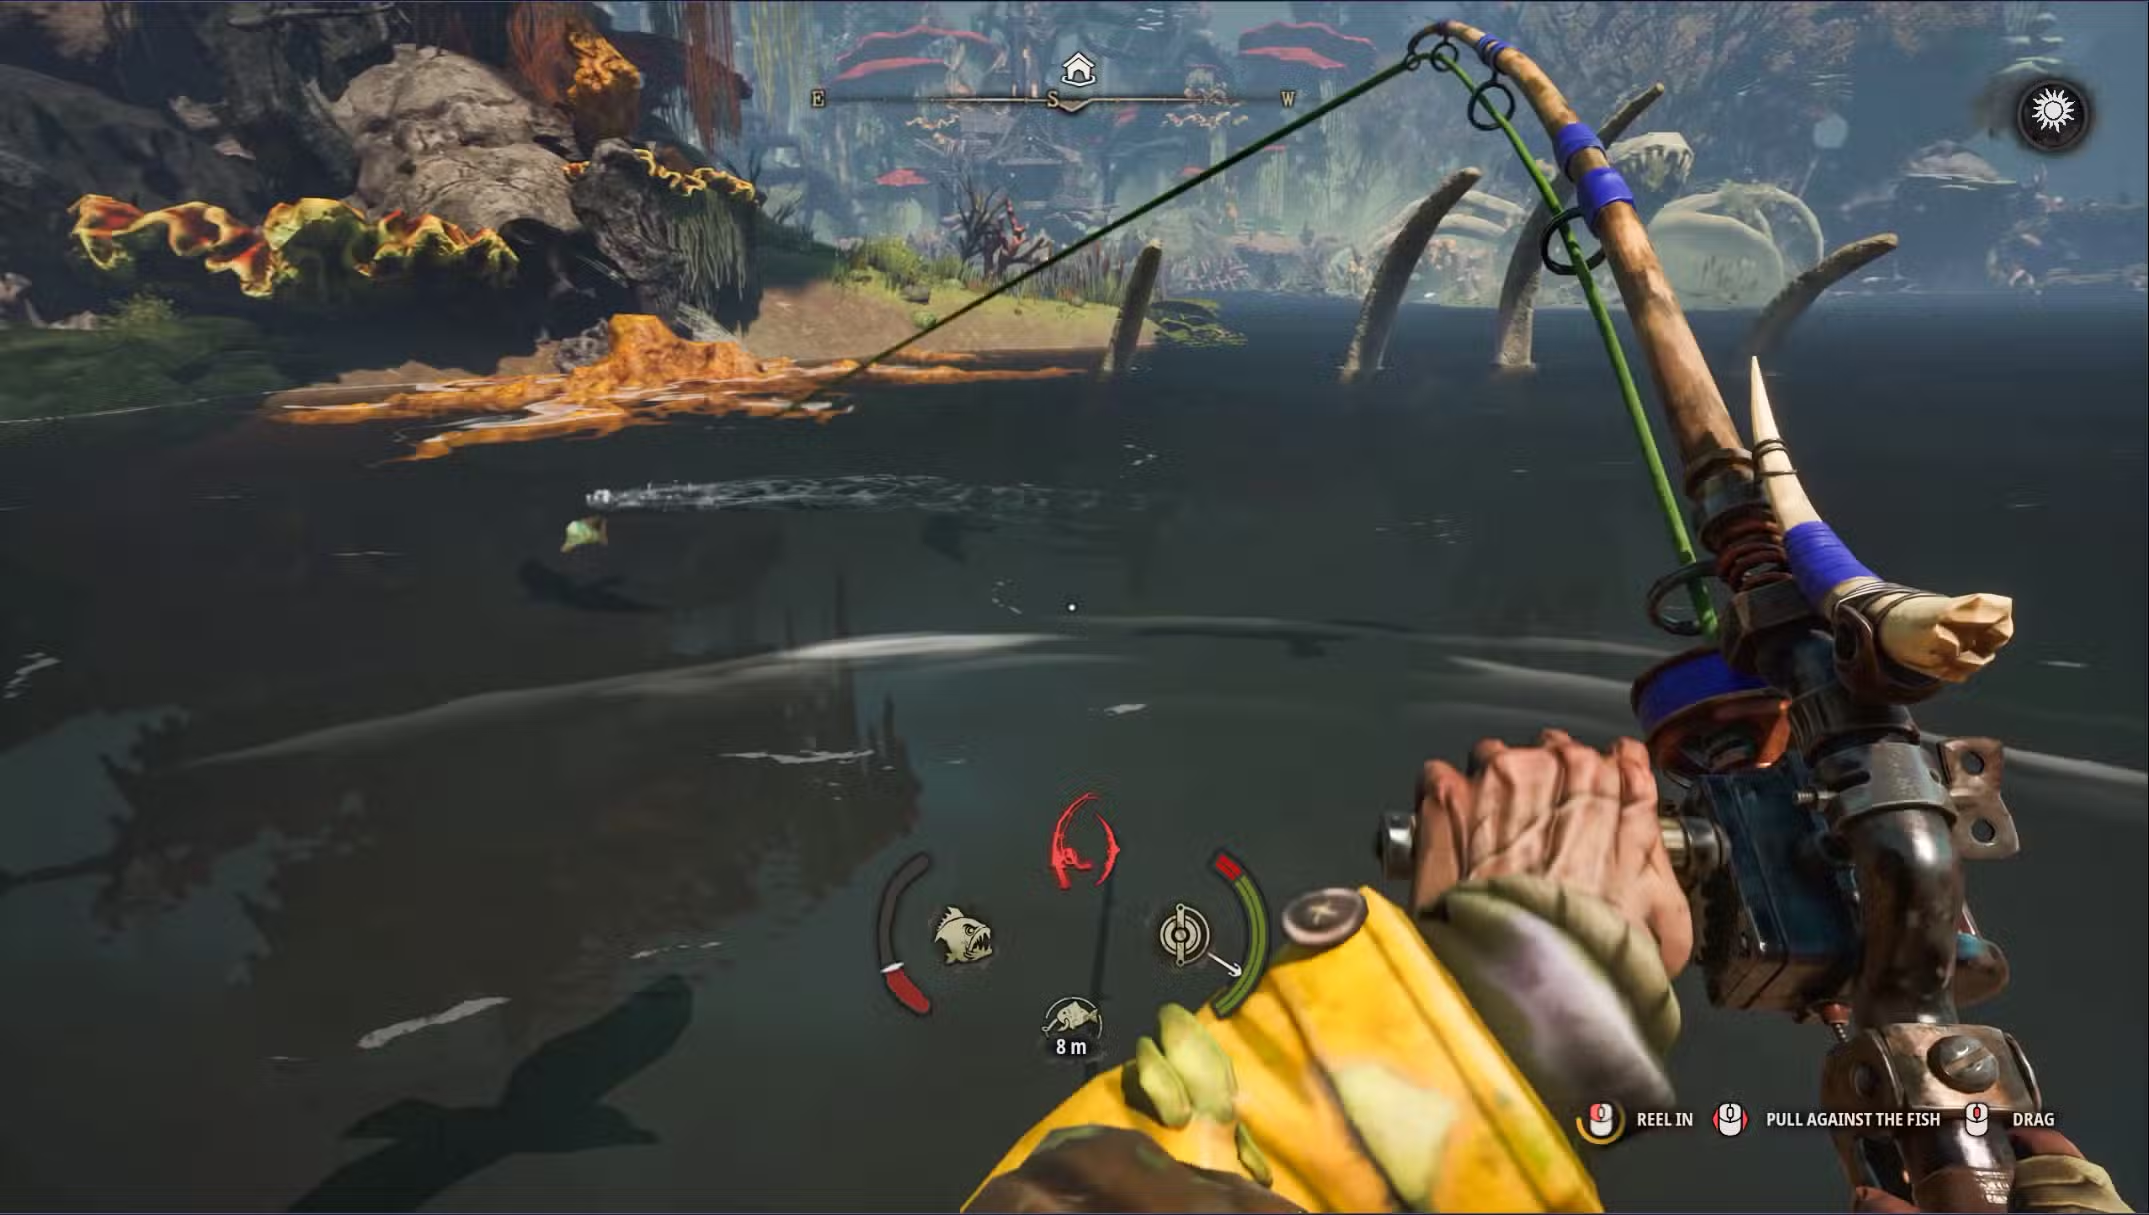
A hooked fish swims against the rod. Pull in the opposite direction to drain its Stamina; if it changes direction, change with it. When Stamina hits zero the fish is exhausted but not caught — you still have to bring it in, and it can recover during the retrieval. For reference, a class 3 Snapper has 100 stamina, a class 3 Softgrazer 110, and a class 3 Sharpfin 120.
Line Tension: Why Lines Snap
Line Tension is the strain meter. Reeling against an actively fighting fish raises it; so does letting a fish run far from the boat. At maximum, the line snaps. The dangerous moment is usually the final retrieval — the fish looks close and makes one more run. Ease off, let it take line, then resume. Losing a metre is cheaper than losing the catch. A Braided Line upgrade gives more margin but not immunity.
Bait by Temperament
Bait is a category, not a flavour. Using the wrong category usually means no bite at all.
| Bait | Type | Best for | Recipe |
|---|---|---|---|
| Earthworm | Universal | Snapper only | Starting bait |
| Wind-Up Tin | Peaceful | Softgrazer contract | 1× Metal Plate + 1× Fish Meat |
| Sturdy Earcrawler | Peaceful | Trophy peaceful fish | 1× Metal Plate + 1× Battery + 1× Thermo Coil + 1× Chromatic Scales |
| Rainbow Fin | Predatory | Harpooner contract | 1× Fish Meat + 1× Metal Plate + 1× Chromatic Scales |
| Flaming Belly | Predatory | Trophy predators | 1× Fish Meat + 1× Jaws + 1× Metal Plate + 1× Lily |
| Pipecross | Predatory | Bonescar, Bully, Rammfish, Stonegnawer | No workbench recipe |
| Deadly Tick | Predatory | Same narrow group | 1× Sharpfin Flesh + 1× Circuit Board + 2× Sturdy Metal + 1× Cable |
Predator Fishing: The Splash Zone
Predators do not take a stationary bait. Look for disturbed water — the splash zone — cast inside it, and start retrieving immediately. Keep a steady pace: reel too fast and the predator cannot catch the lure; leave it still and it loses interest. If a fish follows and turns away, recast with a different pace rather than swapping bait.
The Three Contract Catches
- Five Snappers — Simple Rod and Earthworm at the platform behind the Dry Dock. The tutorial fight.
- Three Softgrazers — Wind-Up Tin at the marked peaceful spot. Deep stamina pool; keep all three whole for the Thresher, which turns them into Chromatic Scales.
- Three Harpooners — Rainbow Fin in a splash zone. Delivery unlocks the Carburetor purchase at Betsy and Sons — you still have to open the shop and buy it for 50.
Gear Upgrades: What to Craft First
| Upgrade | What it changes | Priority |
|---|---|---|
| Braided Line | Stronger line, fewer break-offs | High |
| Reinforced Rod | Tires fish faster | Medium |
| Baitcasting Reel | Faster line recovery | Medium |
| Sturdy Earcrawler | Peaceful trophy chance | Optional |
| Flaming Belly | Predator trophy chance | Optional |
The Simple Rod can finish the demo — upgrades make fights forgiving, not possible. Fix input habits before spending materials.
Processing: Grinder, Thresher and Fuel Larva
Three machines turn a catch into supplies: the Grinder makes Fish Meat for bait and fuel, the Thresher processes peaceful fish like Softgrazer into Chromatic Scales, and the Fuel Larva eats Fish Meat and produces fuel, which you transfer to the boat with the Fuel Gun. Producing fuel and filling the tank are separate actions — check the tank before every long trip.
FAQ
Why does my fishing line keep breaking?
Line Tension climbs when you reel against a fish that is still fighting or when it runs far from the boat. Stop reeling, let the fish run, and resume when the meter falls. Braided Line gives more margin.
How do I catch Softgrazers?
Research and craft Wind-Up Tin (1× Metal Plate + 1× Fish Meat), equip it at the marked peaceful fishing spot, and fight them patiently — a class 3 Softgrazer has 110 stamina and can recover during retrieval.
How do I catch Harpooners?
Craft Rainbow Fin, sail to the marked predator water, cast into a splash zone and retrieve steadily. Reeling too fast or leaving the lure motionless both end the chase.
What is the best bait in DREADMOOR?
There is no single best bait. Earthworm is Snapper-only; Wind-Up Tin and Sturdy Earcrawler cover peaceful fish; Rainbow Fin and Flaming Belly cover most predators; Pipecross and Deadly Tick are listed for Bonescar, Bully, Rammfish and Stonegnawer.
Is fishing required to finish the demo?
Yes. The main route requires five Snappers, three Softgrazers and three Harpooners, and fishing supplies the Fish Meat, Chromatic Scales and Jaws behind boat modules and bait.
Sources
- DREADMOOR — official Steam page
- Verified in-game, October 2026 demo build
Related Guides
Walkthrough
DREADMOOR Demo Walkthrough – Every Quest from the Abandoned House to The Throat
Complete DREADMOOR demo walkthrough: all main quests in order — the five-Snapper contract, Moonshine Still, Dry Dock repairs, Hull Protection, Upgraded Engine and The Throat gate.
Beginner
DREADMOOR Beginner Guide – Your First Hours in the Submerged Lands
Start DREADMOOR the right way: the Abandoned House, Betsy and Sons, the Bunkhouse, your first fishing contracts, and the mistakes that cost new players their catch.